

In the web portal, equipment can be added two different ways.
1. It can be added directly into the Equipment Register
2. If can be added via a job as long as an inspection is being performed on the equipment.
Please see the instructions below.
1. Adding Equipment Directly Into The Register.
- Log into the web portal
- Click on the "Equipment" menu item
- Select a client and client site in the dropdown menu. You may need to add the client into the system if you haven't done this already.
- Click the "Add new equipment" button
- Fill in the mandatory equipment section. The "Description" field can not be edited. It wil be populated according to the values you enter further down the page.
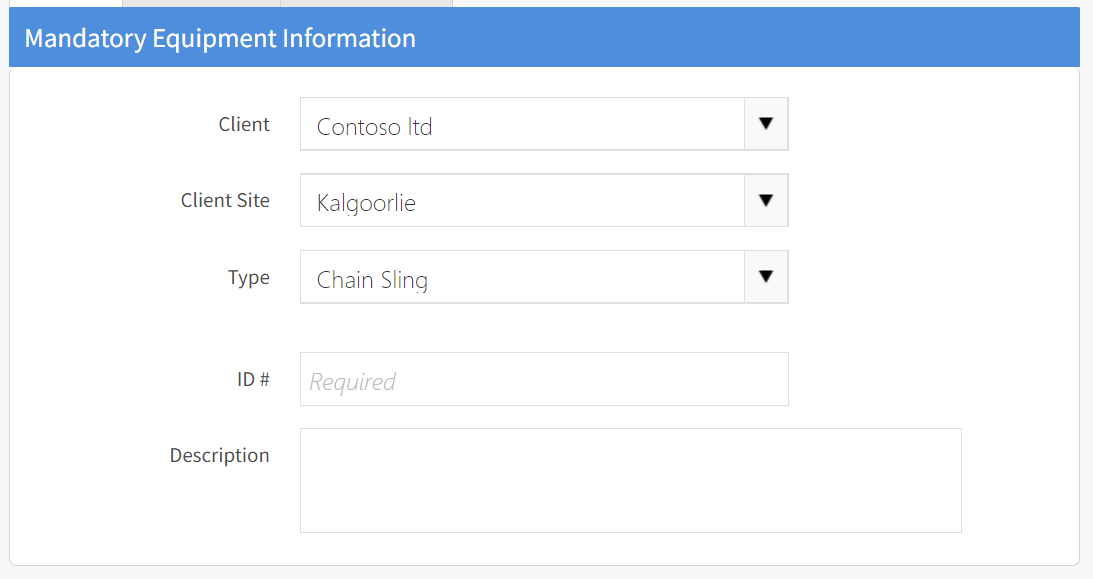
- ID # should be the tag ID or serial number depending on how your organisation operates.
- Fill in the Optional Equipment Information.

- The Client Ref field is for the client's reference number. For example a plant code.
- The location notes field is a flexible field that specifies where the item is located at a client site.
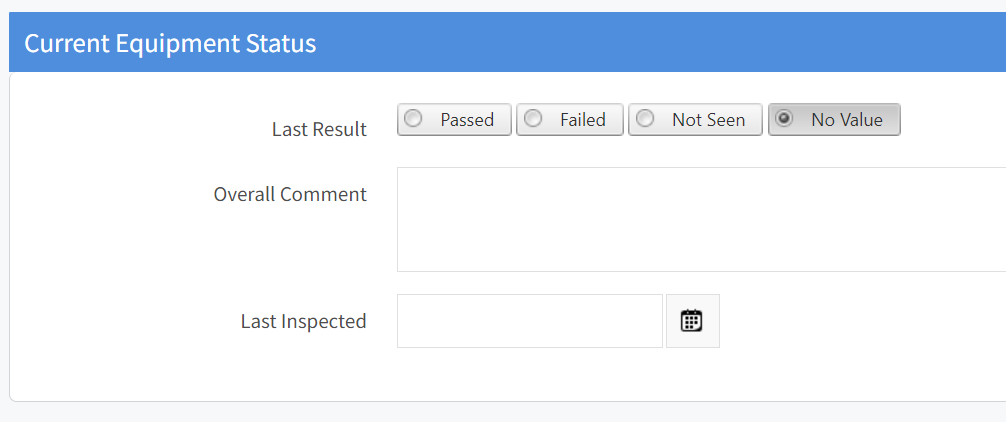
- If you are not performing an inspection at this stage, you can fill in the Current Equipment Status fields. Please note these will be overwritten as soon as an inspection if performed. They will be overwritten with the details from the most recent inspection.
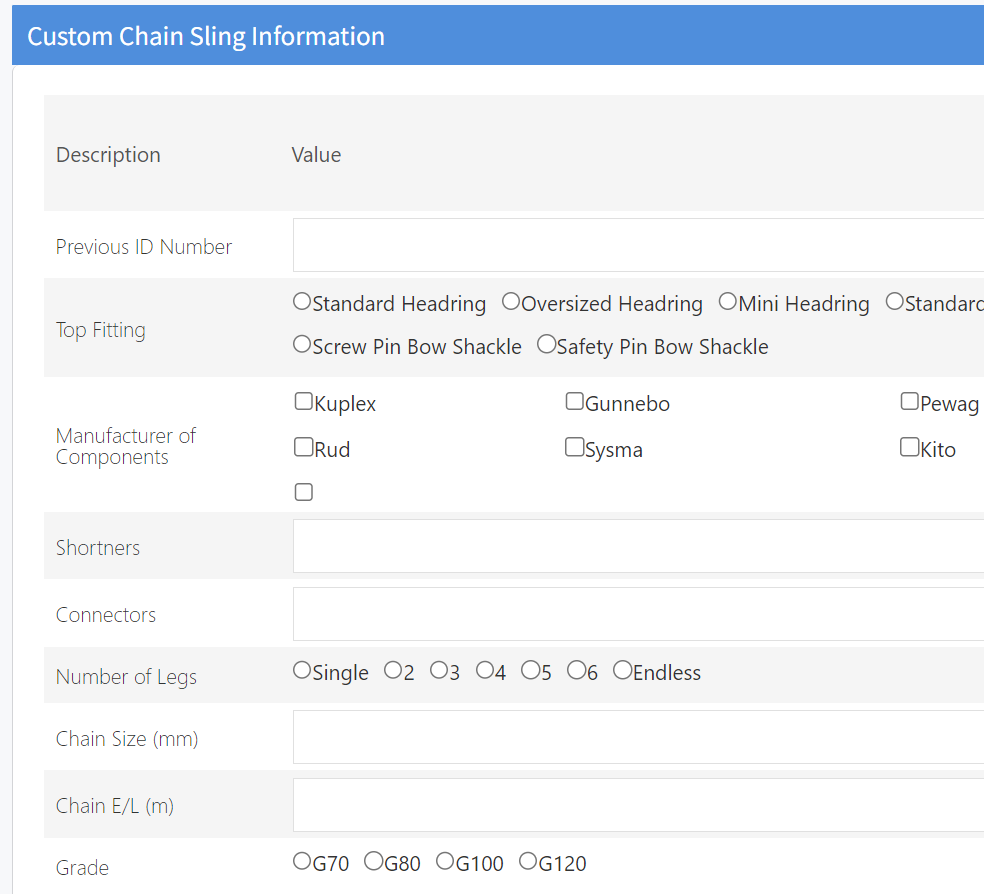
- Fill out the "Custom Information" section. The attributes here will differ depending on the equipment type selected in step 5.
- Press "Save" or "Save and Inspect" if you want to perform an examination.
2. Adding Equipment Into The Register Via The Job Page.
Please take the following steps.
- Log into the web portal, click on the Jobs menu item button and open an existing job.
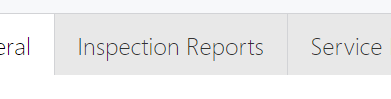
- Click on the "Inspection Reports Tab".
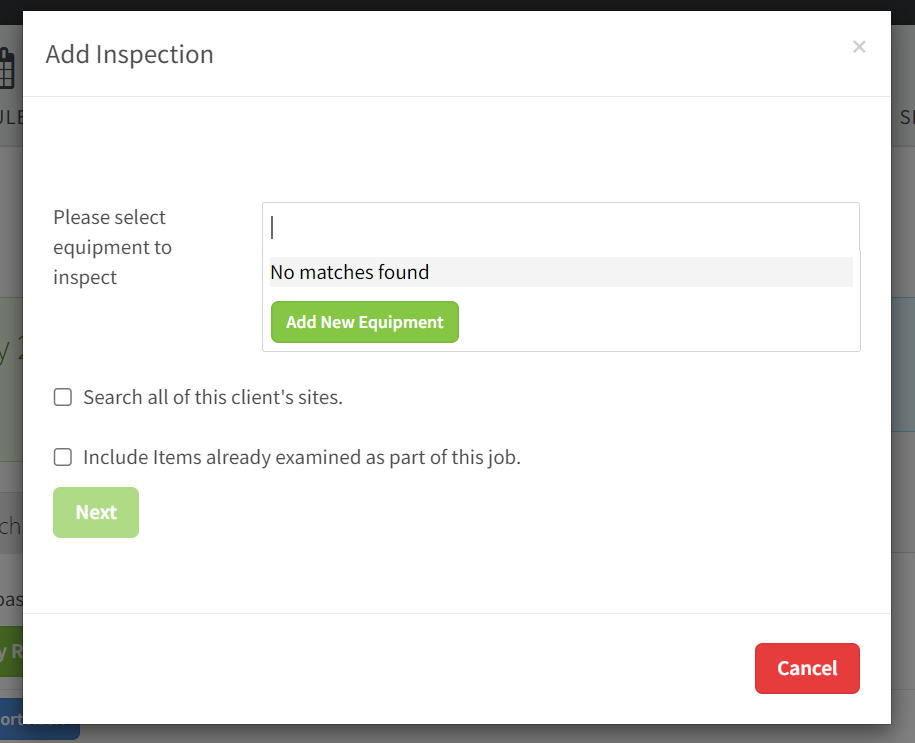
- Click the "Add New Inspection" button.

- In the popup that appears, click the "Add New Equipment".
- Follow the steps listed in the section above to populate the equipment information.